Paint natural-looking hair with Corel® Painter™
By Katarina Sokolova-Latans'ka
I think volume is the most important part of hair. It does not matter how long the hair is or what its form is-the most important task is to create rich, voluminous, fluffy hair. For that, it is enough to use 2 brushes and 3 to 5 tones of base color.
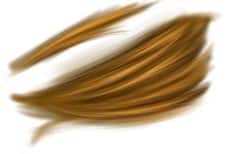
My favorite brush tracking for painting hair is illustrated here:
To paint a lock of hair
- First, it is necessary to decide what color the hair will be, then create a palette of base colors. For this example, I have chosen a reddish-golden base tone.
- I then add other tones to my palette. In this example, I have added dark brown and bright yellow tones, which I will use to paint shadows and flares. I will only use colors from this palette, which will help to create a cohesive tone.
To form the basic contour of the hairdo
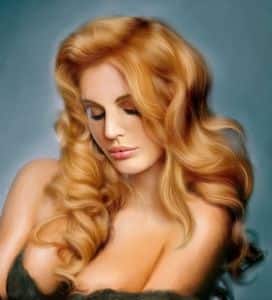
- Firstly, I paint the base, which I slightly wash out by adding light flares over the whole area.
- I work with a soft brush that has a rather large diameter, and follow the direction of hair growth. I use wide strokes, so that the locks become neat and smooth. The base has to be neat, without any spots or details.
- I accent the shadows with slightly darker tones, forming the future locks and curls. At this stage I work with 2 or 3 similar tones, which I mix on the palette.
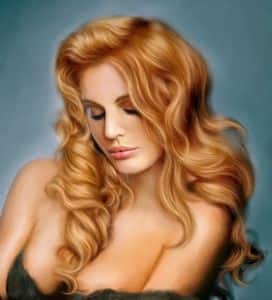
- For the next stage, I choose a brush with acrylic settings. This brush consists of many small fibers and is ideal for painting hair. I continue to add shadows and light flares, gradually smoothing the locks and detailing them.
![]()
![]()
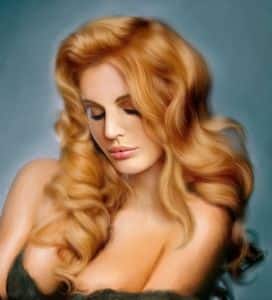
- Next, I choose the same acrylic brush, but I change its diameter and transparency. I advise you to never use 100% opaque colors, as this will make your painting look flat and lifeless. The maximum transparency should be 45-50 %. Then you have the ability of layering colors one on top of the other, creating a multicolored effect. This is the longest phase of work. I constantly mix colors on the palette, alternatively adding shadows and flares to the hair mass.
- Finding the right balance between shadows and spots of light is very important to achieve the exact structure that you wish to paint. My secret is to slightly wash out some of the detailed locks, to smooth texture that looks too rigid. I particularly wash out the locks that are farthest from the face. The difference between detailed and washed out areas marvelously creates the feeling of the volume for separate locks.
- Using the brush of a smaller diameter, I continue to work on the details.
The most important thing to remember is to not overdo it at this stage. Small, fibrous hair detail does not look very good. Usually, I add most detail to the hair around the face. I paint separate locks and small curls. I recommend doing this detailing, and light and shadow detailing, on different layers. This makes it possible to fix imperfections and combine the different modes of color mixing and overlaying.
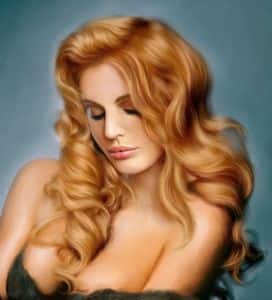
At this stage, I also add small hairs sticking out of the general hairdo, to bring natural carelessness, liveliness and volume to my painting.
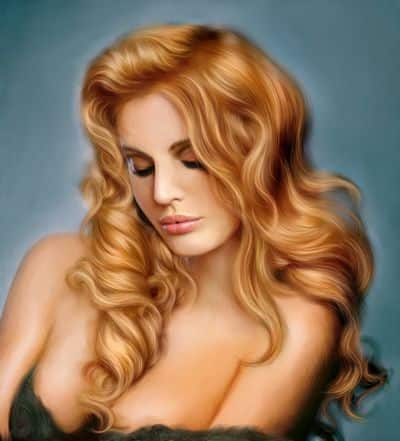
At the last phase of my painting, I make shadows and spots of light stronger. Using a small, soft brush, I strengthen the shadows on the darkest areas of the hairdo.
I then work with the brightest goldish-yellow tones from the palette to paint the lightest and most saturated flares.
It is important to note that the color of the hair must be in harmony with the general environment, no matter which colors you have used for painting. So, if you wanted to paint a red-haired woman surrounded by green leaves, then you have to add to your palette not only goldish and reddish-brown tones, but some greenish tones as well, since the hair in its own way reflects the nuances of the environment.
And there you have it!